Part 2 of 4
Installing OpenClaw
Installing the software, configuring its environment, and getting the first deployment running.
The full guide is published as four different articles:
- Setting up your server (Intro → Part 3) - link
- Installing OpenClaw (Part 4 → Part 6)
- Configuring your OpenClaw (Part 7 → Part 10) - link
- Customizing your first agent to your needs (Part 11 → end) - link
This second piece takes you from an empty server to a running OpenClaw you can actually talk to.
Part 4: Set Up OpenClaw
Time required: 5-10 minutes
What you’ll create: OpenClaw directory structure, configuration files, secrets
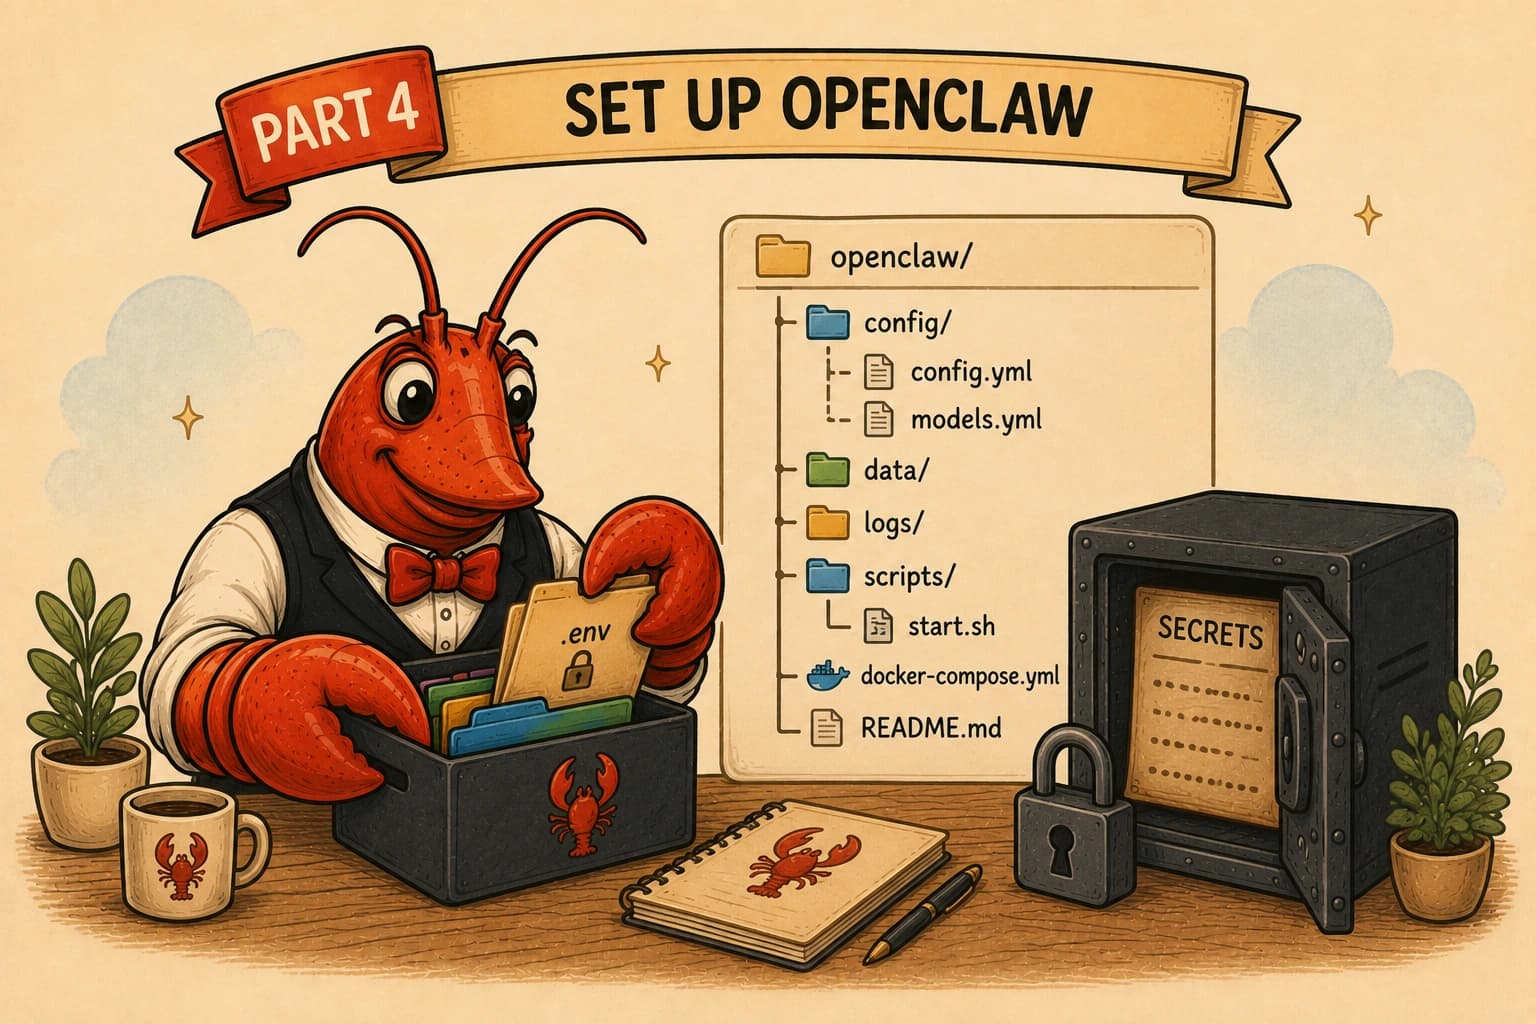
What is OpenClaw?
- Open-source AI agent framework – this is its GitHub repo
- Provides persistent memory, skills, channels (Telegram, etc.)
- Runs as a Docker container
Step 4.1: Download OpenClaw Repository
What we’re doing: Cloning the OpenClaw GitHub repository. This gives you the docker-compose.yml, the Dockerfile, and the .env.example you’ll need in this Part and the next.
cd ~
git clone https://github.com/openclaw/openclaw.git
cd openclaw
Command breakdown:
- cd ~: Go to your home directory (/home/yourname)
- git clone ...: Download the repository
- cd openclaw: Enter the cloned directory
Expected output:
Cloning into 'openclaw'...
remote: Enumerating objects: 877311, done.
remote: Counting objects: 100% (246/246), done.
remote: Compressing objects: 100% (100/100), done.
remote: Total 877311 (delta 177), reused 151 (delta 146), pack-reused 877065 (from 2)
Receiving objects: 100% (877311/877311), 1.50 GiB | 27.34 MiB/s, done.
Resolving deltas: 100% (633687/633687), done.
Updating files: 100% (20189/20189), done.
Time: 10-30 seconds depending on connection speed
Verify you’re in the right directory:
pwdExpected output:
/home/yourname/openclawCheck the files we care about are present:
ls docker-compose.yml Dockerfile .env.exampleAll three should be listed. These are what the rest of the guide builds on:
- docker-compose.yml: Defines how to run the OpenClaw container
- Dockerfile: The build recipe for the image (used in Part 5)
- .env.example: Example environment variables (you copy this in Step 4.5)
Step 4.1b: Pin to the Current Stable Version
What we’re doing: Checking out a specific released version, instead of building from whatever happens to be on the main branch.
Why this matters: main is a moving target and can contain half-finished work. A tagged release is a known, stable point. Pinning here means the image you build in Part 5 is reproducible and you know exactly what you’re running.
Find the current stable version (query it live, don’t just copy the version number from this guide):
curl -fsSL https://api.github.com/repos/openclaw/openclaw/releases/latest | grep '"tag_name"'Expected output (the version will differ):
"tag_name": "v2026.6.9",Check out that tag, substituting whatever the command above returned:
git checkout v2026.6.9Expected output:
Note: switching to 'v2026.6.9'.

You are in 'detached HEAD' state...
HEAD is now at 844f405 ...
About “detached HEAD”: This is normal and expected. It just means you’re sitting on a specific released version rather than the tip of a branch. That’s exactly what we want for a deployment. You don’t need to do anything about it.
Write down which version you pinned. You’ll want it for reference, and the same number can optionally feed the OPENCLAW_IMAGE line later if your build publishes one.
Step 4.2: Create OpenClaw Data Directories
What we’re doing: Creating directories where OpenClaw will store config files, memory, logs, and session state.
mkdir -p ~/.openclaw/workspaceCommand breakdown:
- mkdir -p: Create directory (and parents if needed)
- ~/.openclaw: Main config directory (hidden because it starts with .)
- ~/.openclaw/workspace: Where agent memory and files are stored
Expected output: None (silent success)
Why pre-create these (and not let the container do it): The compose file bind-mounts these host paths into the container. On Linux, if a bind-mount source does not already exist, the Docker daemon creates it owned by root, which then locks out the container (it runs as a non-root user). Creating them yourself first, then handing them to UID 1000 in Step 4.3, avoids that.
Verify directories exist:
ls -la ~/.openclaw/Expected output:
total 12
drwxrwxr-x 3 yourname yourname 4096 Jun 17 11:01 .
drwxr-x--- 5 yourname yourname 4096 Jun 17 11:01 ..
drwxrwxr-x 2 yourname yourname 4096 Jun 17 11:01 workspace
Step 4.3: Fix Directory Permissions
What we’re doing: Ensuring the container (which runs as user ID 1000) can write to the data directories.
Why this matters: Docker containers often run as non-root users for security. OpenClaw runs as user node (UID 1000). Setting the directory owner to 1000 up front is what lets the container read and write its own config and memory.
sudo chown -R 1000:1000 ~/.openclawCommand breakdown:
- chown -R 1000:1000: Change owner to UID 1000, GID 1000 recursively
- ~/.openclaw: The directory tree to change
Expected output: None (silent success)
Verify permissions:
ls -la ~/.openclaw/Expected output:
drwxrwxr-x 3 yourname yourname 4096 Jun 17 11:01 .If ls shows your username rather than the raw number 1000, that’s correct and expected: because you were the first user created on the box (Part 2), your account is UID 1000. When you chown to 1000:1000, you’re setting the numeric IDs that your username maps to, so ls displays the friendly name. Either display means the ownership is right.
What if this causes problems later?
- Your user won’t be able to directly edit files in ~/.openclaw
- You’ll need sudo to edit them
- OR use docker compose exec to edit from inside the container
Step 4.4: Generate the Gateway Token
What we’re creating: One random secret that secures access to the gateway and its Control UI.
openssl rand -hex 32Expected output (yours will differ):
3f9a1c7e2b8d4f6a0c5e9b3d7f1a2c4e6b8d0f2a4c6e8b0d2f4a6c8e0b2d4f6aCopy this entire string and save it somewhere safe (password manager, secure note).
Label it “OpenClaw Gateway Token”
Why we use openssl rand:
- Cryptographically secure random number generator
- 32 bytes (256 bits) of entropy
- hex: Output as hexadecimal (easy to copy/paste)
Don’t use weak values:
❌ “password123”
❌ “openclaw”
❌ Your name
Random 64-character hex string from openssl rand -hex 32
Critical: Never paste an example or placeholder token (not the one shown above, not one from any tutorial). The gateway refuses to start if its token is set to a known documented placeholder value. Always use the real string your own openssl command produced.
Step 4.5: Create Environment Configuration
What we’re doing: Creating a .env file that tells Docker Compose how to configure OpenClaw. Rather than hand-typing a template, we copy the .env.example that shipped with the repo (the example file itself instructs you to do this), then fill in only the values you use. This keeps your .env in sync with your installed version.
🚧 Environment Variables
Environment variables are dynamic, user-definable configuration values that live outside your application code but dictate how software and operating systems behave. They act like sticky notes of information for your computer, using simple NAME=value pairs
Importantly, they keep sensitive data (like database passwords, encryption keys, and API tokens) out of your actual source code. This is especially important if you plan to share your code publicly (e.g., on GitHub).
First, make sure you’re in the repo directory:
cd ~/openclawCopy the shipped example to .env:
cp .env.example .envWhat this gives you: a .env containing every supported variable as a documented, mostly-commented reference.
Open it for editing:
nano .envYou need to make three sets of edits: set the gateway token, set one model provider key, and add the Docker/gateway path variables.
Edit 1 - Set the gateway token. Find the line that reads:
OPENCLAW_GATEWAY_TOKEN=and paste your real token from Step 4.4 after the =.
🚧 Model Provider Choice
From here onwards, you’ll note that this guide uses Claude as the model provider, but others work too, like Open AI or any other models you can find in OpenRouter.
Edit 2 - Set one model provider key. The example lists several under “Model provider API keys (set at least one)”, all commented out.
Find this line:
# ANTHROPIC_API_KEY=sk-ant-...remove the leading #, and replace the value with your real Anthropic API key (create one at the Anthropic Console if you don’t have it).
Edit 3 - Add the Docker/gateway path variables. These are read by docker-compose.yml but are not in .env.example, so add this block near the top of the file:
# --- Docker paths + gateway (read by docker-compose.yml) ---
OPENCLAW_CONFIG_DIR=${HOME}/.openclaw
OPENCLAW_WORKSPACE_DIR=${HOME}/.openclaw/workspace
OPENCLAW_GATEWAY_BIND=lan
OPENCLAW_GATEWAY_PORT=18789
About ${HOME}: Leave it written literally as ${HOME}. Docker Compose expands it to your home directory at runtime, so the mounts resolve to /home/yourname/.openclaw without you hardcoding your username. When you later inspect .env, seeing the literal ${HOME} is correct, not a mistake.
Save the file:
- Press Ctrl+O (WriteOut)
- Press Enter (confirm filename)
- Press Ctrl+X (exit nano)
Now decide the image source
OpenClaw’s compose file defaults the image to openclaw:local when OPENCLAW_IMAGE is unset. Check what your repo actually references, rather than assuming:
grep -riE 'image:|ghcr.io|openclaw/openclaw:' docker-compose.yml .env.example 2>/dev/null- If the compose file only defaults to openclaw:local with no published registry path: leave OPENCLAW_IMAGE unset. Your version expects a local build, which Part 5 handles. This is the path this guide follows.
- If it shows a published image path (something like ghcr.io/openclaw/openclaw): you have the option to pull a prebuilt image instead of building. If you go that route, add an OPENCLAW_IMAGE line to .env combining that path with the version you pinned in Step 4.1b, e.g. OPENCLAW_IMAGE=ghcr.io/openclaw/openclaw:2026.6.8. Note that prebuilt registry images can lag the source releases and the newest tags are sometimes pre-release builds, so building locally (Part 5) is the way to stay on the exact stable version you pinned. Either way, any version you reference came from a live query, never from stale text in a guide.
Configuration breakdown:
- OPENCLAW_GATEWAY_TOKEN: Secret for gateway / Control UI access
- ANTHROPIC_API_KEY: Your model provider key; the agent can’t reach a model without at least one provider key set
- OPENCLAW_CONFIG_DIR: Where config files live (mounted to /home/node/.openclaw in the container)
- OPENCLAW_WORKSPACE_DIR: Where agent memory/files live (mounted to /home/node/.openclaw/workspace)
- OPENCLAW_GATEWAY_BIND=lan: Listen on the container network, not just loopback (the compose port mapping then exposes it on the host)
- OPENCLAW_GATEWAY_PORT=18789: Port for the gateway / Control UI
- OPENCLAW_IMAGE: Which Docker image to use; left unset for the local-build route, or pinned to a queried version if you pull
Note: OPENCLAW_GATEWAY_BIND and OPENCLAW_GATEWAY_PORT have built-in defaults (lan and 18789) in the compose file, so they’re technically optional, but setting them explicitly is clearer. OPENCLAW_CONFIG_DIR and OPENCLAW_WORKSPACE_DIR are the important ones, since they point the mounts at the persistent directories you created in 4.2.
Verify the file that you’ve just edited looks right:
grep -vE '^\s*#' .env | grep -vE '^\s*$'This prints only the active (non-comment, non-blank) lines. You should see your edited configuration with real values and no leftover placeholders. It should look roughly like this (secrets shown as placeholders here for safety):
OPENCLAW_CONFIG_DIR=${HOME}/.openclaw
OPENCLAW_WORKSPACE_DIR=${HOME}/.openclaw/workspace
OPENCLAW_GATEWAY_BIND=lan
OPENCLAW_GATEWAY_PORT=18789
OPENCLAW_GATEWAY_TOKEN=
ANTHROPIC_API_KEY=
# OPENCLAW_IMAGE only appears here if you chose the pull route
Lock down the file permissions (it contains secrets):
chmod 600 .envThis means only your user can read or write it.
Verify:
ls -la .envShould show -rw-------…
What you now have:
✅ OpenClaw repository cloned and pinned to a specific stable version
✅ Data directories created and owned by UID 1000 so the container can use them
✅ A cryptographically secure gateway token generated
✅ Environment file created from the official example, with only the variables your version actually reads, and .env locked
✅ Image source decided (local build by default), with any version pinned from a live query
Part 5: Build & Start OpenClaw
Time required: 30-45 minutes
What we’re doing: Building the OpenClaw image, writing its initial config, and starting the container so it comes up healthy.
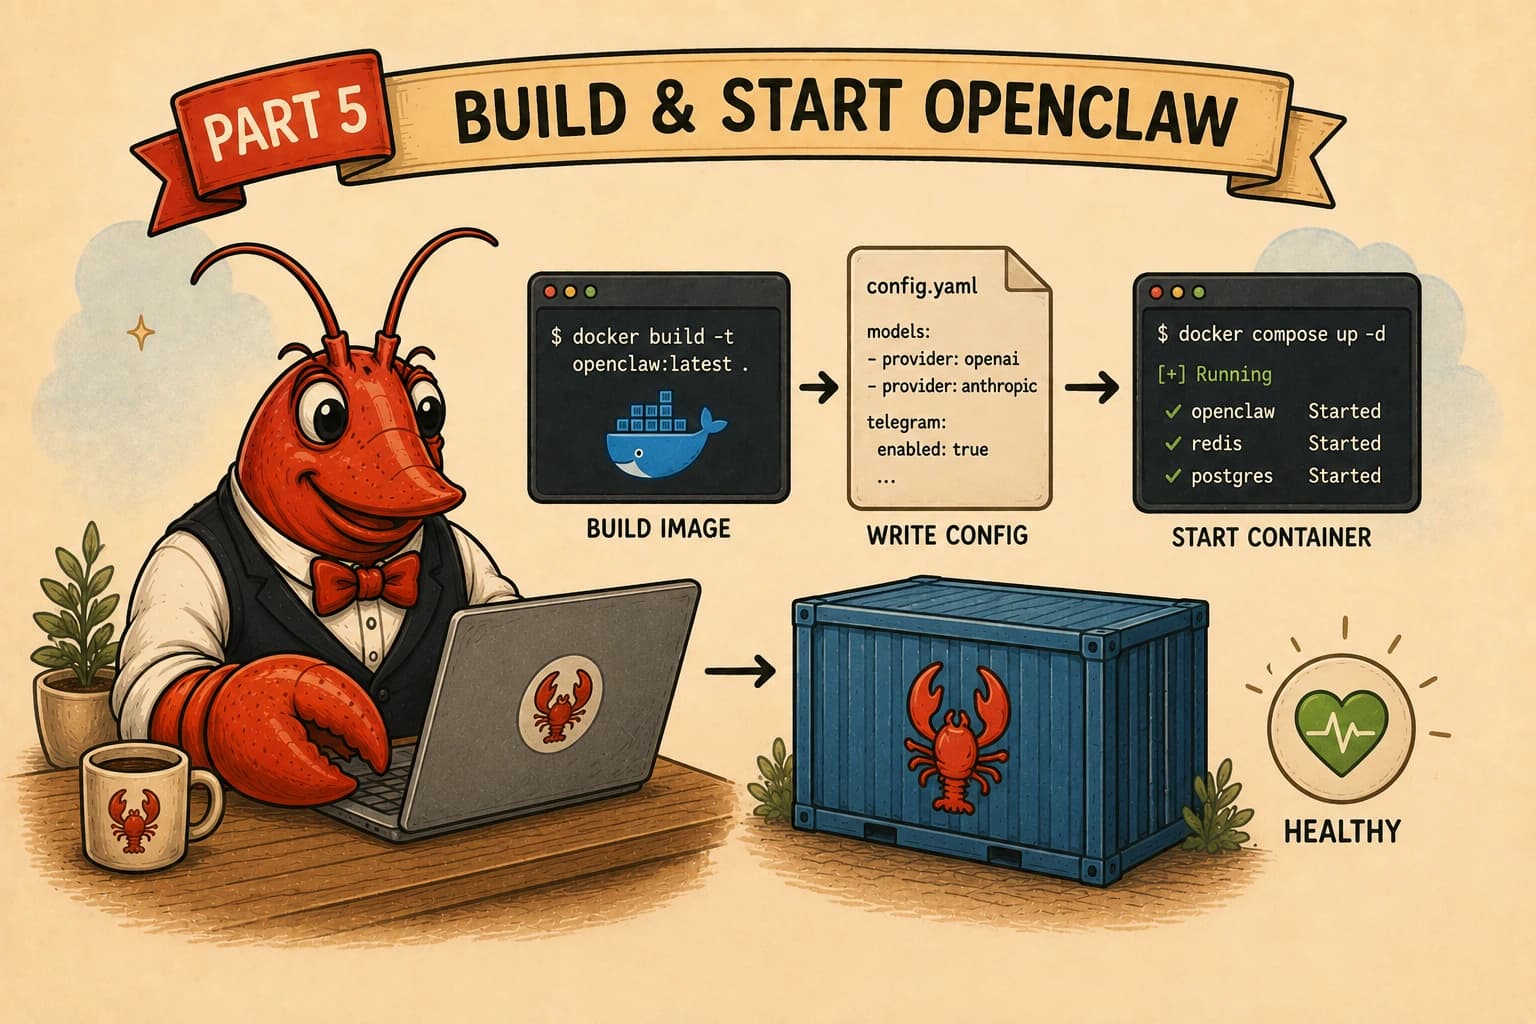
Routes: This Part assumes you left OPENCLAW_IMAGE unset in Part 4, which means the local-build route. The compose file defaults the image to openclaw:local, so once you build and tag it that way, Docker Compose picks it up automatically with no OPENCLAW_IMAGE line needed. If you instead pinned a published image tag in Part 4, you can skip the build (Steps 5.1-5.3) and jump to Step 5.4 after a docker compose pull; the config and start steps are identical.
Step 5.1: Temporarily Resize the server (Droplet) for the Build
Why this step exists: Running OpenClaw is light, but building its image is the single most memory-hungry thing in this guide. The TypeScript compile step inside the build launches Node with a large heap and needs roughly 8-9 GB of working memory at its peak. A 4 GB Droplet cannot complete it; the compile gets killed partway through. So for the build only, we temporarily move to a larger size, then drop straight back down afterwards. Billing is per-second with a monthly cap, so the larger size costs only a few cents for the time the build takes.
DigitalOcean lets you do this cleanly because it offers a reversible resize. There are two resize types, and the distinction is the whole game here:
- CPU and RAM only – changes CPU and RAM but leaves your disk untouched. This one can be reversed, so you can scale up and later scale back down.
- Disk, CPU, and RAM – also permanently grows the disk. This one cannot be reversed, because DigitalOcean won’t shrink a disk.
We use CPU and RAM only in both directions. Never pick the disk option, or you’ll be stuck on the larger, pricier plan with no way back down.
If your server already has 8 GB RAM or more, skip this step and go to Step 5.2.
Resize up (in the DigitalOcean console):
Stop anything running first. In your SSH session:
cd ~/openclaw
docker compose down- Then power the Droplet off cleanly. Doing this from the command line (rather than the dashboard’s power toggle) avoids any risk of filesystem corruption during the resize:
sudo shutdown -h nowYour SSH session will drop as the Droplet powers down. Wait a moment, then:
- In the DigitalOcean Control Panel, open the Droplets page and click your Droplet.
- Confirm the status at the top shows the Droplet is Off before proceeding; if not, use Power → Turn off Droplet and wait.
- In the Droplet’s menu, select the Settings tab, where you’ll see Resize configuration. Click Edit.
- Tick the box labelled Downscale anytime by keeping the storage size fixed. This keeps your disk at its current size so you can drop back down to a smaller plan later. If you leave it unticked, the disk grows with the plan, which is permanent and would trap you on the larger, pricier plan with no way back down.
- Select a plan with 8 GB RAM (for example, the 8 GB / 4 vCPU Basic plan, one tier up from your 4 GB one). Any 8 GB plan works for the duration of the build; you’ll drop back afterwards.
- Click Resize Droplet and wait until the “Resizing Droplet” bar at the top is fully loaded.
- Click Turn on Droplet to turn the Droplet back on.
A short wait is normal here. DigitalOcean may move your Droplet to a different host during a resize, which means copying your disk over the network, so the downtime scales a little with how much disk you’ve used. On a fresh box it’s quick.
Reconnect over SSH:
ssh yourname@YOUR_DROPLET_IPConfirm the new size:
free -hYou should now see around 7.x Gi of total memory.
Step 5.2: Add Swap for the Build
What we’re doing: Adding a swapfile as a safety margin so the compile’s memory peak can’t kill the build, even on the resized box.
Note: Swap added this way is activated at runtime but isn’t written into /etc/fstab, so it does not survive the power-cycle that a resize requires. That’s fine: we add it here, after resizing up, purely for the build. (You’ll add a small permanent swap for normal running in Step 5.8.)
sudo fallocate -l 4G /swapfile
sudo chmod 600 /swapfile
sudo mkswap /swapfile
sudo swapon /swapfile
Verify swap is active:
free -hThe bottom Swap: line should show 4.0Gi.
If mkswap reports a different size than you asked for, an old /swapfile already exists. Remove it first (sudo swapoff /swapfile; sudo rm /swapfile), then recreate with sudo dd if=/dev/zero of=/swapfile bs=1M count=4096 and re-run from chmod onward.
Step 5.3: Build the Image Locally
What we’re doing: Building the OpenClaw Docker image from the Dockerfile that shipped with the repo, and tagging it openclaw:local so the compose file finds it.
Make sure you’re in the repo directory:
cd ~/openclawBuild the image:
docker build -t openclaw:local -f Dockerfile .Command breakdown:
- docker build: Build an image from a Dockerfile
- t openclaw:local: Tag the image openclaw:local (the name the compose file expects by default)
- f Dockerfile: Use the Dockerfile in this directory
- .: Build context is the current directory
Time: Around 10 minutes, so be patient. The build runs many steps; the long one is the TypeScript compile near the end, which can sit for several minutes with little output. That’s normal, don’t interrupt it.
Watching memory (optional): In a second SSH session, in a second terminal, you can run free -h a few times during the compile. You’ll see RAM fill up and swap start being used at the peak, that’s the swap doing its job. As long as the build keeps progressing, it’s fine.
Expected output (tail end):
=> exporting to image
 => => naming to docker.io/library/openclaw:local
 => => unpacking to docker.io/library/openclaw:local
[+] Building 384.3s (52/52) FINISHED
The thing to look for is FINISHED with all steps completed and the naming to docker.io/library/openclaw:local line.
Verify the image exists:
docker images | grep openclawExpected output:
openclaw local d168cd474ce1 2 minutes ago 1.17GBThe key thing is that an image tagged openclaw: local is present.
Step 5.4: Get a Telegram token
This step seems out of place, but is actually correct. Download Telegram on your phone or laptop, create an account, and follow the steps below, as you’ll need a token for Step 5.5.
In Telegram (phone or desktop):
- Search for @BotFather – yes, that’s really the name of the bot.
- Send /newbot
- Follow the prompts: choose a display name, then a username that must end in bot (e.g. xyz_assistant_bot).
- BotFather replies with a token that looks like 123456789:ABCdef.... Copy it and keep it somewhere safe. That token is the bot’s password. Don’t paste it into chats or commit it anywhere; you’ll need it in the next step.
Step 5.5: Write the Initial Gateway Config
Why this step is required: The gateway will not start without a config telling it how to run. If you skip straight to docker compose up, the container crash-loops with Missing config. Run ‘openclaw setup’ or set gateway.mode=local. We write that config now, before the first real start, using a throwaway container.
Run the config-set:
docker compose run --rm --no-deps --entrypoint node openclaw-gateway \
 dist/index.js config set --batch-json '[{"path":"gateway.mode","value":"local"},{"path":"gateway.bind","value":"lan"},{"path":"gateway.controlUi.allowedOrigins","value":["http://localhost:18789","http://127.0.0.1:18789"]}]'
Command breakdown:
- docker compose run --rm: Run a one-off container and remove it when done
- -no-deps: Don’t start other services, we only need this throwaway container
- -entrypoint node ... dist/index.js config set: Run OpenClaw’s config command directly
- -batch-json ‘[...]’: Set three config values at once:
- gateway.mode = local (the value the “Missing config” error asks for)
- gateway.bind = lan (listen on the container network so the host port mapping works)
- gateway.controlUi.allowedOrigins (the origins the Control UI is allowed to be reached from)
Expected output:
OpenClaw 2026.6.9 ...
Updated 3 config paths. Restart the gateway to apply.
The config is written into your mounted ~/.openclaw, so it persists across restarts and rebuilds. The “Restart the gateway to apply” message is just telling you the next step starts it for real.
Run this:
docker compose run --rm --no-deps --entrypoint node openclaw-gateway \
 dist/index.js onboard --mode local --no-install-daemon
You’ll see a short setup wizard open. You’ll need to answer these questions in order:
- I understand this is personal-by-default and shared/multi-user use requires lock-down. Continue? Select Yes and press Enter.
- Setup mode. Select QuickStart (recommended) (Recommended local setup. Change details later with openclaw configure.) and press Enter.
- Config handling. Pick Keep current values and press Enter.
- Model/auth provider. Select Anthropic and press Enter.
- Anthropic auth method. Select Anthropic API key and press Enter.
- Use existing ANTHROPIC_API_KEY (env: ANTHROPIC_API_KEY, sk-a…JgAA). Select Yes and press Enter. That’s the key you added earlier.
- Default model. Select Browse all models and pick anthropic/claude-sonnet-4-6 from the list.
- Select channel (QuickStart). Select Telegram (Bot API) and press Enter.
- How do you want to provide this Telegram bot token? Select Enter Telegram bot token and press Enter. Then, enter the bot token that was generated in Step 5.4.
- Search provider. Select Skip for now and confirm.
- Configure skills now? (recommended). Select No and press Enter. We’ll do this later.
- Enable hooks? Press Space to select Skip for now, and then press Enter.
- How do you want to hatch your agent? Select Hatch later and press Enter.
Step 5.6: Start the Container
What we’re doing: Starting the OpenClaw gateway container in detached mode (background), now that its config exists.
docker compose up -d openclaw-gatewayExpected output:
[+] Running 2/2
 ✔ Network openclaw_default Created 0.1s
 ✔ Container openclaw-openclaw-gateway-1 Started 0.5s
Note on names: Docker derives the network and container names from your repo folder. If your folder is openclaw, you’ll see openclaw_default and openclaw-openclaw-gateway-1. A different folder name produces different prefixes; that’s expected.
Step 5.7: Verify the Container is Healthy
Wait about 30 seconds (the image has a startup grace period), then check status:
docker compose psExpected output:
NAME IMAGE COMMAND SERVICE STATUS PORTS
openclaw-openclaw-gateway-1 openclaw:local "tini -s -- node dis…" openclaw-gateway Up 30 seconds (healthy) 0.0.0.0:3978->3978/tcp, 0.0.0.0:18789-18790->18789-18790/tcp
Key things to check:
- STATUS: Up ... (healthy). The (healthy) part appears once the built-in health check passes (it pings the gateway’s /healthz).
- IMAGE: openclaw:local
- PORTS: the 18789-18790 mapping is present (3978 is a channel port and also normal)
Confirm it’s actually serving (optional):
curl -fsS http://127.0.0.1:18789/healthzExpected output:
{"ok":true,"status":"live"}If STATUS shows “Restarting”
The container is crash-looping. Read the logs:
docker compose logs openclaw-gateway --tail 30- Missing config ... → the config step didn't take. Re-run the config-set from Step 5.5, then docker compose up -d openclaw-gateway again.
- ANTHROPIC_API_KEY is not set → the key line in .env is commented or malformed. Fix it (Part 4, Step 4.5), then restart.
- EADDRINUSE: address already in use :::18789 → something else holds the port. docker compose down, check with
sudoss -tulpn | grep 18789, then start again.
Warnings that are safe to ignore
[fetch-timeout] fetch timeout after 2500ms
[gateway] startup model warmup timed out after 5000ms
These are benign; startup continues. You may also see Bonjour/mDNS being disabled, that’s expected for Docker and intentional.
Step 5.8: Resize the Server Back Down
Why: The build is done, and running OpenClaw doesn’t need the larger box. Drop back to your 4 GB plan so you’re not paying for capacity you won’t use.
- Stop the container cleanly:
docker compose down- Power the Droplet off cleanly:
sudo shutdown -h now- In the DigitalOcean Control Panel: open the Droplet, click Resize, choose CPU and RAM only (again, never the disk option), and select your original 4 GB plan. Because you never grew the disk, this downgrade is allowed. Click Resize, wait for it to finish, then power the Droplet back on.
- Reconnect:
ssh yourname@YOUR_DROPLET_IP- Confirm you’re back to 4 GB: expect roughly 3.7Gi total memory. You may still see Swap:
free -h- Bring the gateway back up on the smaller box:
cd ~/openclaw
docker compose up -d openclaw-gateway- Confirm it’s healthy here too (running is light, so it will be): Look again for Up ... (healthy).
docker compose psThe config and image you built both live on the server's disk and in your mounted ~/.openclaw, so nothing is lost across the resize. The build swapfile may still be on disk; Step 5.9 deals with it.
Step 5.9: Add Permanent Swap for Normal Running
What we’re doing: Replacing the temporary build swap with a small, permanent swapfile sized for day-to-day running on the 4 GB box. The build swap was 4 GB; for normal running 2 GB is plenty, and we want it to come back automatically after a reboot.
The build used a swapfile at /swapfile. Whether or not it’s still active, clear it first so we start clean, then create the 2 GB one:
sudo swapoff /swapfile 2>/dev/null
sudo rm -f /swapfile
sudo dd if=/dev/zero of=/swapfile bs=1M count=2048
sudo chmod 600 /swapfile
sudo mkswap /swapfile
sudo swapon /swapfile
We use dd rather than fallocate here because dd writes exactly the size you ask for (2048 MB = 2 GB), which avoids any ambiguity. The swap off/rm at the top is harmless if no swapfile exists, so you run the same commands either way.
Confirm 2 GB of swap is now active:
free -hThe Swap: line should read 2.0Gi.
Now make it permanent across reboots. First check whether a /swapfile line already exists in fstab, so you don’t add a duplicate:
grep swapfile /etc/fstabIf that returns nothing, add the line and tune swappiness so the kernel prefers RAM and only reaches for swap under real pressure:
echo '/swapfile none swap sw 0 0' | sudo tee -a /etc/fstab
sudo sysctl vm.swappiness=10
echo 'vm.swappiness=10' | sudo tee -a /etc/sysctl.conf
If grep already showed a /swapfile line, do not run the tee into fstab again (it would create a duplicate); run only the two vm.swappiness commands.
Confirm the final state:
free -h
grep swapfile /etc/fstab
You want Swap: 2.0Gi and exactly one /swapfile line in fstab.
To update OpenClaw later
When you want to move to a newer release:
- Re-query the current stable version (Part 4, Step 4.1b) and git checkout the new tag.
- Rebuild the image. Because the build is memory-hungry, repeat the temporary resize-up (Step 5.1), build, then resize back down, exactly as you did here.
- docker compose up -d openclaw-gateway and confirm healthy. Your state directories are mounted in, so memory and config survive the upgrade. Pinning a specific tag (never :latest) keeps upgrades deliberate.
What you now have:
✅ OpenClaw image built locally and tagged openclaw:local
✅ Initial gateway config written (so the container starts instead of crash-looping)
✅ Container running and healthy, HTTP server responding on port 18789
✅ Server resized back to its normal 4 GB size
✅ A small permanent swap cushion in place for normal running
✅ Ready for first-run setup and device pairing in the next Part
Part 6: Initial Setup via SSH Tunnel
Time required: 10-15 minutes
What you’ll do: Reach the OpenClaw Control UI securely through an SSH tunnel, then point the agent at your Claude model so it’s ready to use.
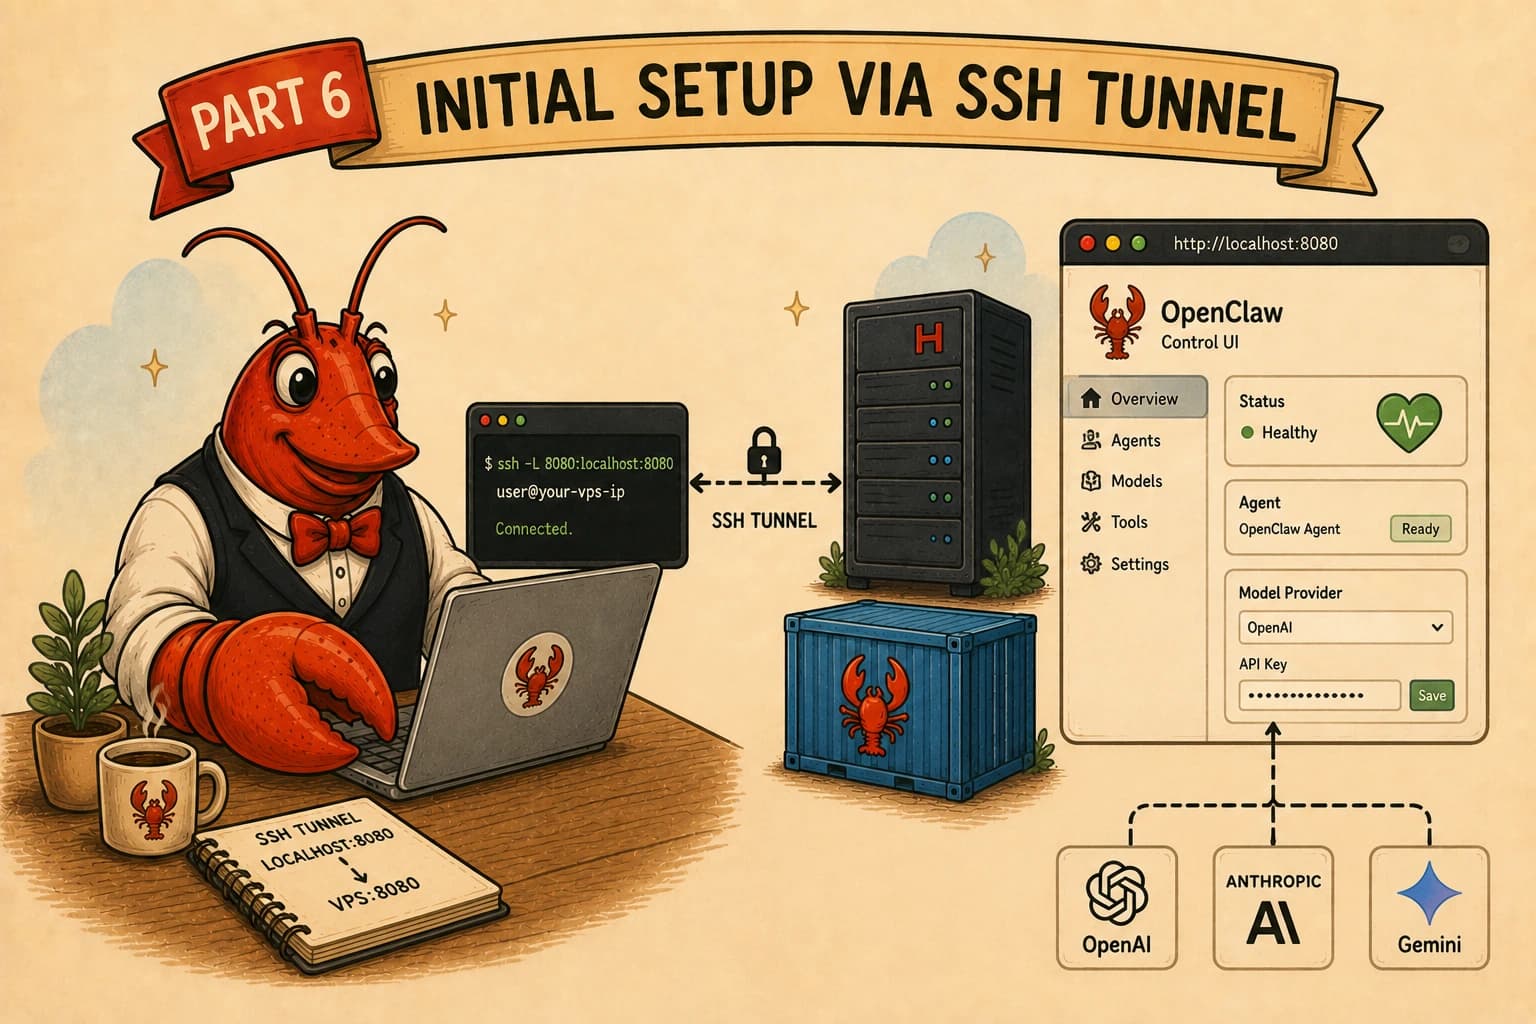
Why an SSH tunnel?
The gateway is listening on port 18789, but:
- It’s not exposed to the internet (both firewalls block it, by design)
- It’s plain HTTP, not HTTPS, so we don’t want it on the open internet
- An SSH tunnel gives you encrypted access from your laptop There’s a second, less obvious reason the tunnel matters. The Control UI uses browser WebCrypto, which browsers only enable in a “secure context.” Opening the dashboard at the server’s public IP over plain HTTP is not a secure context, so the browser blocks it. But http://127.0.0.1 is treated as secure, so tunneling to localhost both encrypts the connection and sidesteps that block. It also means the gateway sees a loopback connection, which it auto-approves (no device-pairing step). The tunnel isn’t just safer; it’s the path that actually works cleanly.
How it works:
[Your Browser] -> localhost:18789 -> [SSH Tunnel] -> [VPS:18789] -> [OpenClaw Container]Step 6.1: Confirm the Gateway is Running
Before tunneling, make sure the gateway is up. In your server SSH session:
cd ~/openclaw
docker compose ps
Expected output:
NAME IMAGE ... STATUS PORTS
openclaw-openclaw-gateway-1 openclaw:local ... Up 2 minutes (healthy) 0.0.0.0:18789-18790->...
You want STATUS to show Up ... (healthy). If it doesn’t, start it with docker compose up -d openclaw-gateway and wait ~30 seconds before re-checking. Don’t continue until it’s healthy, the dashboard can’t load if the gateway isn’t running.
Step 6.2: Open the SSH Tunnel
⚠️ Important: This command runs on your laptop, not the server. This means that you need to open a new terminal window on your laptop by using, let’s say, the Mac’s Terminal app (rather than the terminal within VS Code, for instance).
Keep your server SSH session open in its own window, you’ll need it again in Step 6.4.
On Mac or Linux:
ssh -N -L 18789:127.0.0.1:18789 yourname@YOUR_DROPLET_IPOn Windows PowerShell:
ssh -N -L 18789:127.0.0.1:18789 yourname@YOUR_DROPLET_IPReplace yourname and YOUR_DROPLET_IP with your values.
Command breakdown:
- ssh: Open an SSH connection
- N: Don’t run any remote command, just hold the tunnel open
- L 18789:127.0.0.1:18789: Forward local port 18789 to the server’s 127.0.0.1:18789
- yourname@YOUR_DROPLET_IP: Your server login
Expected behavior:
- You’ll be prompted for your SSH key passphrase
- After that, the command produces no output and the prompt does not return
- The terminal looks “stuck”, this is correct. It means the tunnel is open and holding
Leave this terminal alone for the rest of setup. If you close it, the tunnel drops and the dashboard becomes unreachable.
Troubleshooting:
“Permission denied (publickey)”:
- Wrong username or IP, or you’re on a machine whose SSH key isn’t on the server “channel 2: open failed: connect failed: Connection refused”: (appears when you load the page)
- The gateway isn’t running. Check docker compose ps in your server session (Step 6.1)
“bind: Address already in use”:
- Something on your laptop already uses local port 18789
- Either close that process, or pick a different local port: ssh -N -L 19999:127.0.0.1:18789 yourname@YOUR_DROPLET_IP
- Then use http://127.0.0.1:19999/ in the next step instead
Step 6.3: Open the Dashboard
In your laptop’s browser, go to:
http://127.0.0.1:18789/What you should see: the OpenClaw Gateway Dashboard. Add your Gateway token and click Connect. This will then load the Chat view. You’ll see the Assistant with a “Ready to chat” status, some suggestion buttons (”What can you do?”, “Check system health”, etc.), and a message composer at the bottom.
If the page doesn’t load:
“This site can’t be reached” / “Connection refused”:
- The tunnel isn’t running, check the terminal from Step 6.2 is still open and “stuck”
- OR the gateway isn’t healthy, check docker compose ps in your server session
A blank dashboard:
- A browser extension may be blocking the app. Try a private/incognito window or a clean profile, then reload
Step 6.4: Closing the Tunnel (When You’re Done)
When you finish a session at the dashboard, you can close the tunnel by going to its terminal window and pressing Ctrl+C (or just closing the window). The gateway keeps running on the server; you’ve only closed your local access to it.
To get back into the dashboard later, you just re-run the tunnel command from Step 6.2 and reopen http://127.0.0.1:18789/. Later Parts of this guide assume you know how to bring the tunnel up this way when they need dashboard access.
What you now have:
✅ A secure SSH tunnel from your laptop to the gateway (encrypted, loopback, auto-approved)
✅ The Control UI dashboard open at http://127.0.0.1:18789/
✅ Ready to extend the agent in the following Parts (skills, channels, personality)
What’s next?
The full guide is published as four different articles:
- Setting up your server (Intro → Part 3) - link
- Installing OpenClaw (Part 4 → Part 6)
- Configuring your OpenClaw (Part 7 → Part 10) - link
- Customizing your first agent to your needs (Part 11 → end) - link
The next article in our guide will cover how to configure your OpenClaw.
Getting help
The easiest way to solve any problem is to take a screenshot and explain your problem to whatever AI model you use – Claude, ChatGPT, Gemini, etc. It will help you solve your problem.
Helpful resources:
- OpenClaw docs: docs.openclaw.ai
- GitHub issues: github.com/openclaw/openclaw/issues
- OpenClaw Discord: via the project’s site/repo
A quick disclaimer
- This is a write-up of what worked for me, offered with no warranties, follow it at your own risk.
- It’s not a security guarantee, and keeping your server secure is your responsibility.
- Costs are real and can change, so watch your own billing (a cloud server bills until you destroy it).
- Referenced tools and services belong to their owners and change over time; this reflects how things worked when written.