Part 3 of 4
Configuring your OpenClaw
Connecting the model, Telegram, Google services, and the other tools your agent needs.
The full guide is published as four different articles:
- Setting up your server (Intro → Part 3) - link
- Installing OpenClaw (Part 4 → Part 6) - link
- Configuring your OpenClaw (Part 7 → Part 10)
- Customizing your first agent to your needs (Part 11 → end) - link
This third piece is where OpenClaw goes from running to genuinely yours, trimmed to the skills you use, locked to you on Telegram, and given a personality.
Part 7: Set up Skills
Time required: 10-15 minutes
What you’ll do: Understand how OpenClaw’s skills actually work, pare them back to the ones you need, and learn how to set up or add skills later.
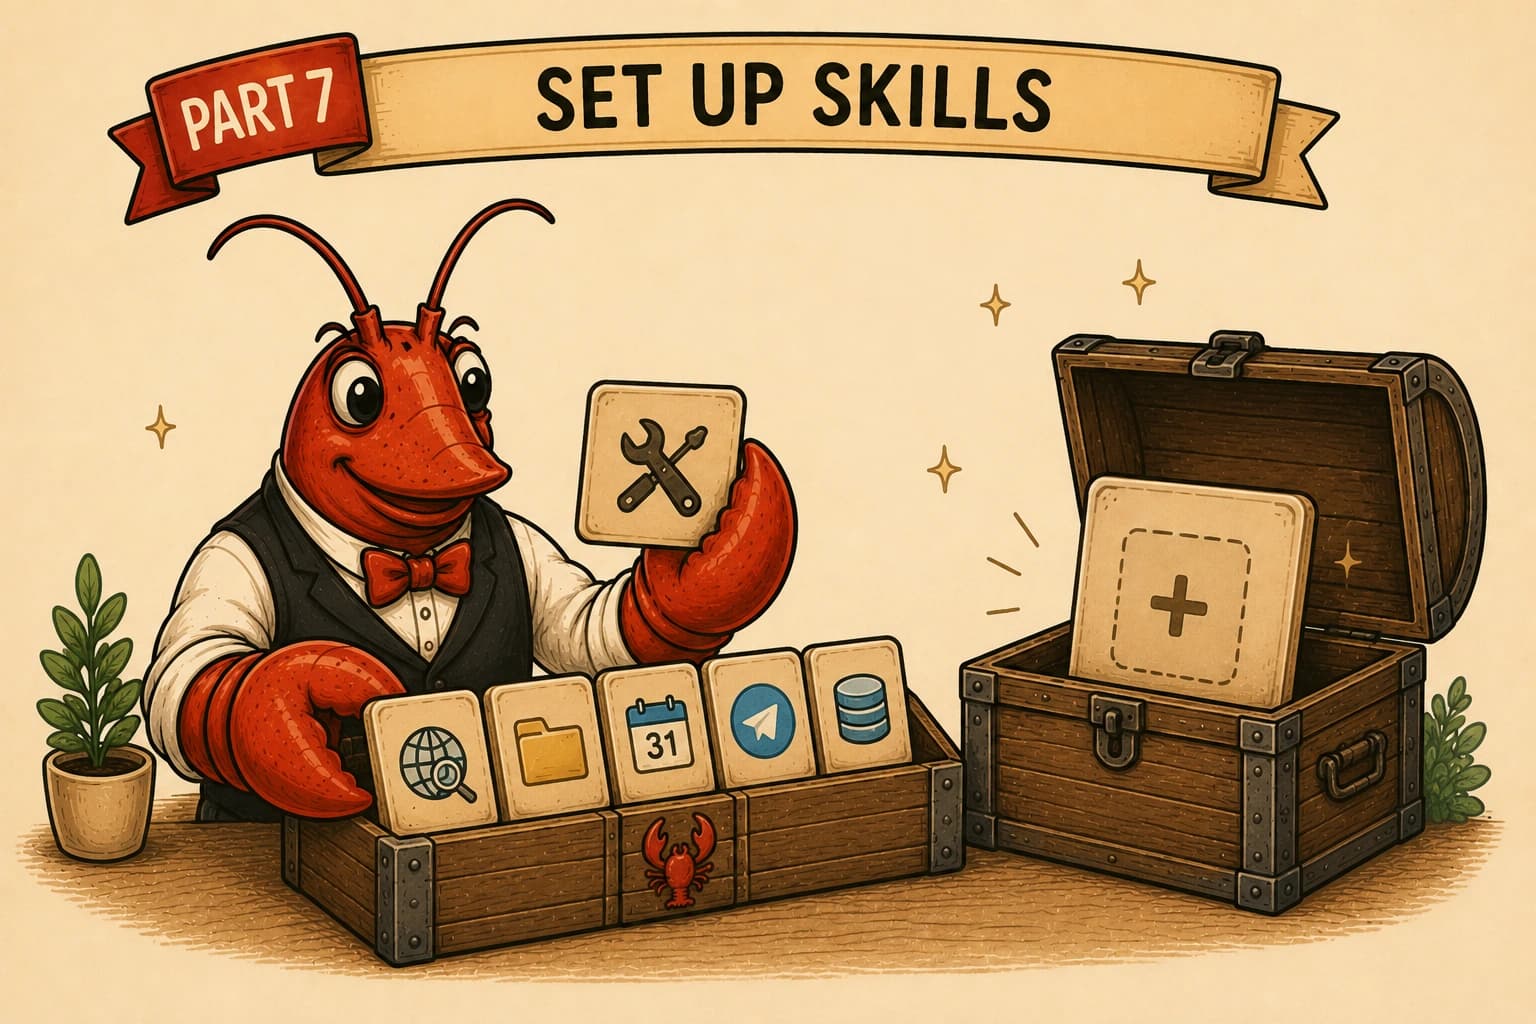
What skills are
A skill is a set of instructions that teaches your agent how and when to use a particular tool. Each one is a SKILL.md file. When a skill is active, its instructions are injected into the agent’s prompt so the model knows the tool exists and how to drive it.
Your build ships with a large set of skills already bundled in, things like GitHub, Notion, weather, Google Workspace, Slack, and dozens more. You don’t install these; they’re already present. What you do decide is which ones are active.
Why you should trim them, not leave them all on
Two reasons to be deliberate here rather than leaving everything enabled:
- Cost. Every active skill adds its instructions to the prompt on every turn. A pile of skills you never use is tokens you pay for on every message, for nothing.
- Surface area. Each active skill is one more tool the agent can reach for. Fewer active skills means a tighter, more predictable agent. The sensible posture: keep active only what you actually use, disable the rest, and re-enable or add skills when a real need shows up. The rest of this Part is how to do that.
Step 7.1: Open the Skills panel
Once again, as taught in Step 6.4, open the SSH Tunnel on your Terminal.
On Mac or Linux:
ssh -N -L 18789:127.0.0.1:18789 yourname@YOUR_DROPLET_IPOn Windows PowerShell:
ssh -N -L 18789:127.0.0.1:18789 yourname@YOUR_DROPLET_IPReplace yourname and YOUR_DROPLET_IP with your values.
With your SSH tunnel up and the dashboard open at http://127.0.0.1:18789/, click Skills in the left sidebar.
You’ll see the full list, with a row of filters at the top: All, Ready, Needs Setup, Disabled. Each skill has a toggle on the right.
Step 7.2: Disable the skills you don’t need
Go through the list and toggle off anything you have no use for. To disable a skill, click its toggle so it switches off. A reasonable starting point is to disable everything, then enable skills as you need them.
When changes apply: a disable or enable is saved straight away and is reflected in the panel immediately. A chat conversation that’s already open snapshots its skills when it starts, so start a new session for your changes to take effect in a conversation.
Step 7.3: Installing additional skills (ClawHub)
The bundled set isn’t the limit. ClawHub is OpenClaw’s public skill registry, and you can pull in skills that didn’t ship with your build.
In the Skills panel there’s a ClawHub search box (”Search ClawHub skills...”). Search there to find a skill, then install it. You can also install from the command line, in your server SSH session:
cd ~/openclaw
docker compose exec openclaw-gateway node dist/index.js skills install
Where installed skills live (and why they survive rebuilds): skills install installs into your workspace skills directory, which in this setup is your mounted ~/.openclaw volume, not the container’s temporary filesystem. That means a skill you install persists across container restarts and image rebuilds. You install it once; it stays.
🚧 Treat third-party skills as untrusted code
A skill is instructions the agent will follow, and many come with a CLI tool they drive. Read what a skill does before enabling it, the same way you’d vet any script you run on your server. ClawHub shows a security-scan state on each skill’s page; check it.
To update skills you’ve installed from ClawHub later:
docker compose exec openclaw-gateway node dist/index.js skills update --all(This tracks ClawHub-installed skills. Bundled skills update when you update OpenClaw itself.)
Step 7.4: Check your work
From your server session, list the skills and see the current state:
docker compose exec openclaw-gateway node dist/index.js skills list 2>/dev/nullThe header reads X/Y ready, and each skill shows ✓ ready, △ needs setup, or disabled. Confirm that:
- The skills you disabled show disabled.
- The self-contained skills you kept show ✓ ready.
- Any binary/key-backed skills you enabled (like gog) show △ needs setup, that’s expected until you configure them in their dedicated Part.
What you now have:
✅ A clear understanding of the three skill states (ready / needs setup / disabled), and that enabling ≠ working
✅ Knowledge of how to install new skills from ClawHub, and that they persist on your mounted volume
Part 8: Securing Telegram
Time required: 10-15 minutes
What you’ll do: Lock your Telegram bot down so only you can message it.
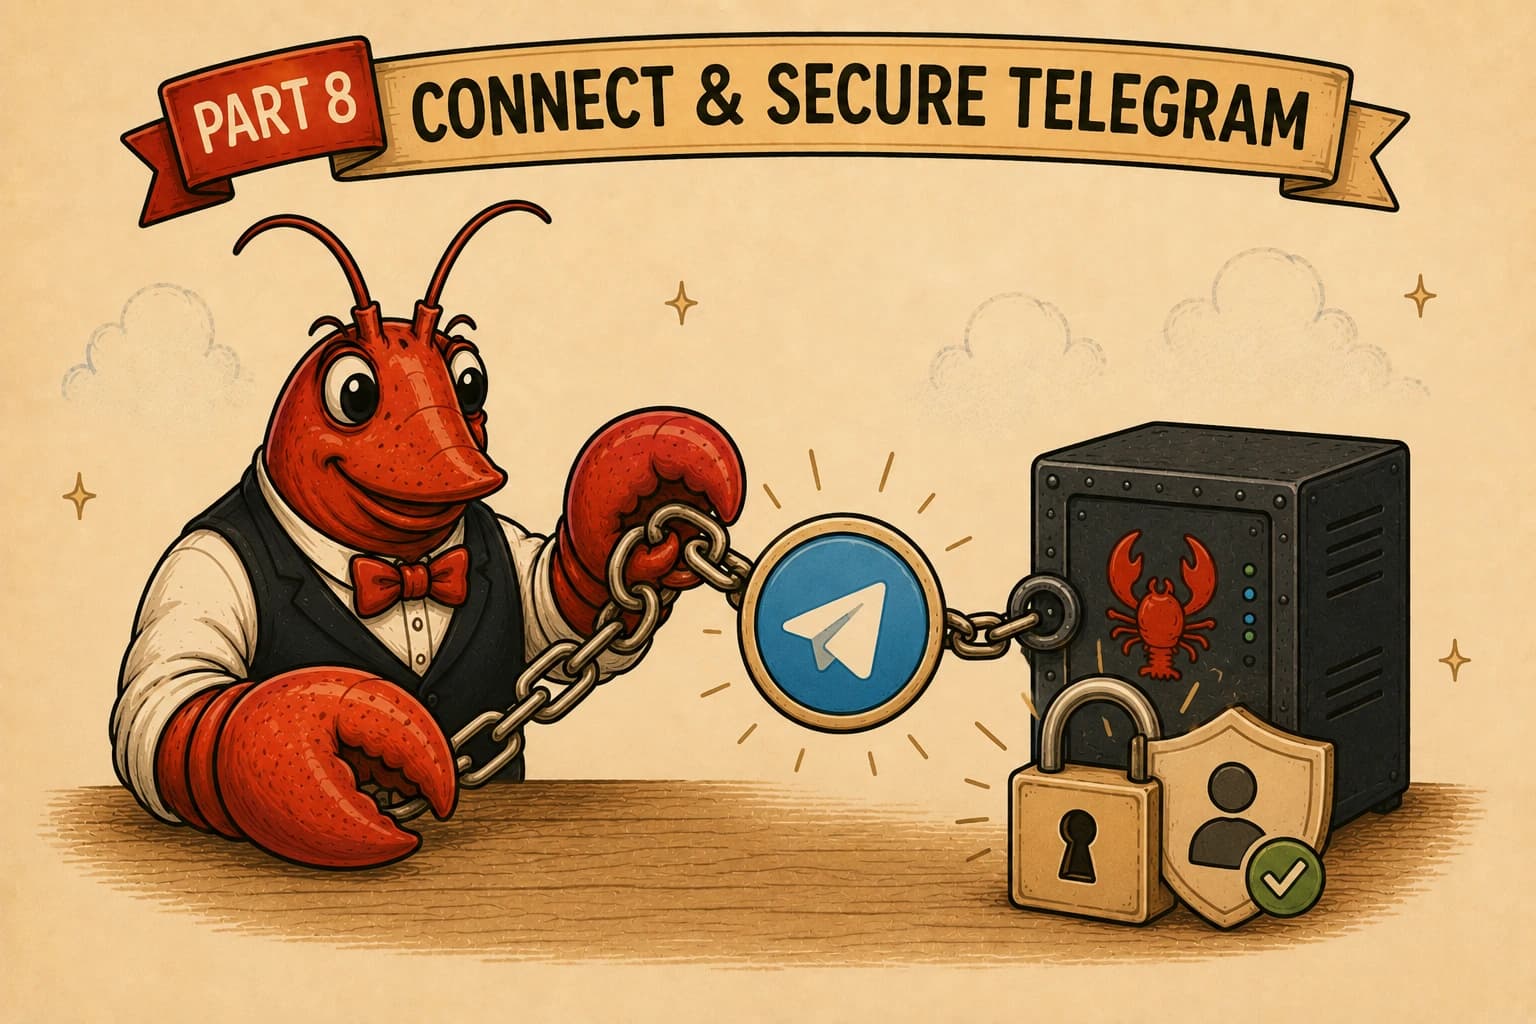
What we’re building
By the end, you’ll be able to DM your agent from Telegram and get replies, and no one else will be able to use it. Telegram is the channel; the lockdown is an allowlist containing exactly one user ID: yours.
Why Telegram isn’t wide open by default (but we lock it anyway): OpenClaw’s default DM policy is pairing, a stranger who messages your bot doesn’t get in; they get a “pairing code” the owner would have to approve. That’s already safe. But for a one-owner bot, an explicit allowlist of your numeric ID is better: it lives in your config, so access doesn’t depend on a stored pairing approval and survives restarts and rebuilds cleanly. That’s what we set up here.
Step 8.1: Get your numeric Telegram user ID
You need your own numeric user ID to put on the allowlist. The bot will hand it to you directly.
In Telegram, open your new bot (search for its username), press Start, and send any message (e.g. “hi”).
Because the bot is connected but you’re not yet authorized, it replies with an access notice that includes exactly what you need:
OpenClaw: access not configured.

Your Telegram user id: 1234567891
Pairing code: ...
Ask the bot owner to approve with:
openclaw pairing approve telegram ...
This is expected, not an error. It’s the default pairing policy correctly refusing an unauthorized sender. Two things from this message:
- Copy your numeric user ID (the 1234567891 part). That’s what goes on the allowlist.
- Ignore the pairing code. We’re not using the pairing path; we’re switching to an allowlist in the next step, which is the better approach for a one-owner bot.
Step 8.2: Lock the bot to your ID
Switch the DM policy to allowlist and add your numeric ID. In your server session, substituting your own ID:
cd ~/openclaw
docker compose exec openclaw-gateway node dist/index.js config set --batch-json '[{"path":"channels.telegram.dmPolicy","value":"allowlist"},{"path":"channels.telegram.allowFrom","value":["1234567891"]}]'
Expected output:
Updated 2 config paths. Restart the gateway to apply.A couple of details that matter here:
- The ID goes in as a quoted string inside the array ([”6828840421”]). That’s the accepted form.
- allowlist mode requires at least one ID in allowFrom, an allowlist with nobody on it is rejected by config validation. You’re providing exactly one: yourself. Restart to apply:
docker compose restart openclaw-gateway
docker compose ps
Wait for Up ... (healthy).
Step 8.3: Test it
In Telegram, DM your bot again (”hi”). This time, instead of the access notice, you get a real reply from your agent.
That reply is the proof the whole chain works: Telegram → gateway → your Claude model → back to Telegram, and it only responds to you.
On the lockdown: access is now enforced by config, your ID is the only one on the allowlist, and dmPolicy: allowlist means anyone else who finds the bot gets the “access not configured” notice and nothing more. You don’t need a second account to verify this; the allowlist is authoritative.
The reply will sound generic right now. The bot has no personality yet, it may even ask you what to call it. That’s expected; you give it its identity in Part 9.
If the bot doesn’t reply
- Still getting “access not configured”: your ID didn’t take. Re-check the allowFrom value matches the ID the bot showed you, re-run Step 8.2, restart.
- No response at all: confirm docker compose ps shows healthy, then check docker compose logs openclaw-gateway --tail 50 | grep -i telegram for the provider line. A getMe returned 401 means a bad token, fix it where you set the token (the BotFather token from the onboarding wizard in the “Installing OpenClaw” article).
What you now have:
✅ A Telegram bot created in BotFather and connected to OpenClaw
✅ The bot locked to your numeric user ID (allowlist), durable in config
✅ A working DM round-trip: you message the bot, your Claude agent replies
✅ Everyone else blocked by default
Part 9: Make Your First Agent
Time required: 15 minutes
What you’ll do: Create your first agent. We’ll be using Arnold, a health, fitness, and nutrition coach with the energy of Arnold Schwarzenegger as an example. We’ll complete OpenClaw’s first-run ritual and then refine the result through conversation.
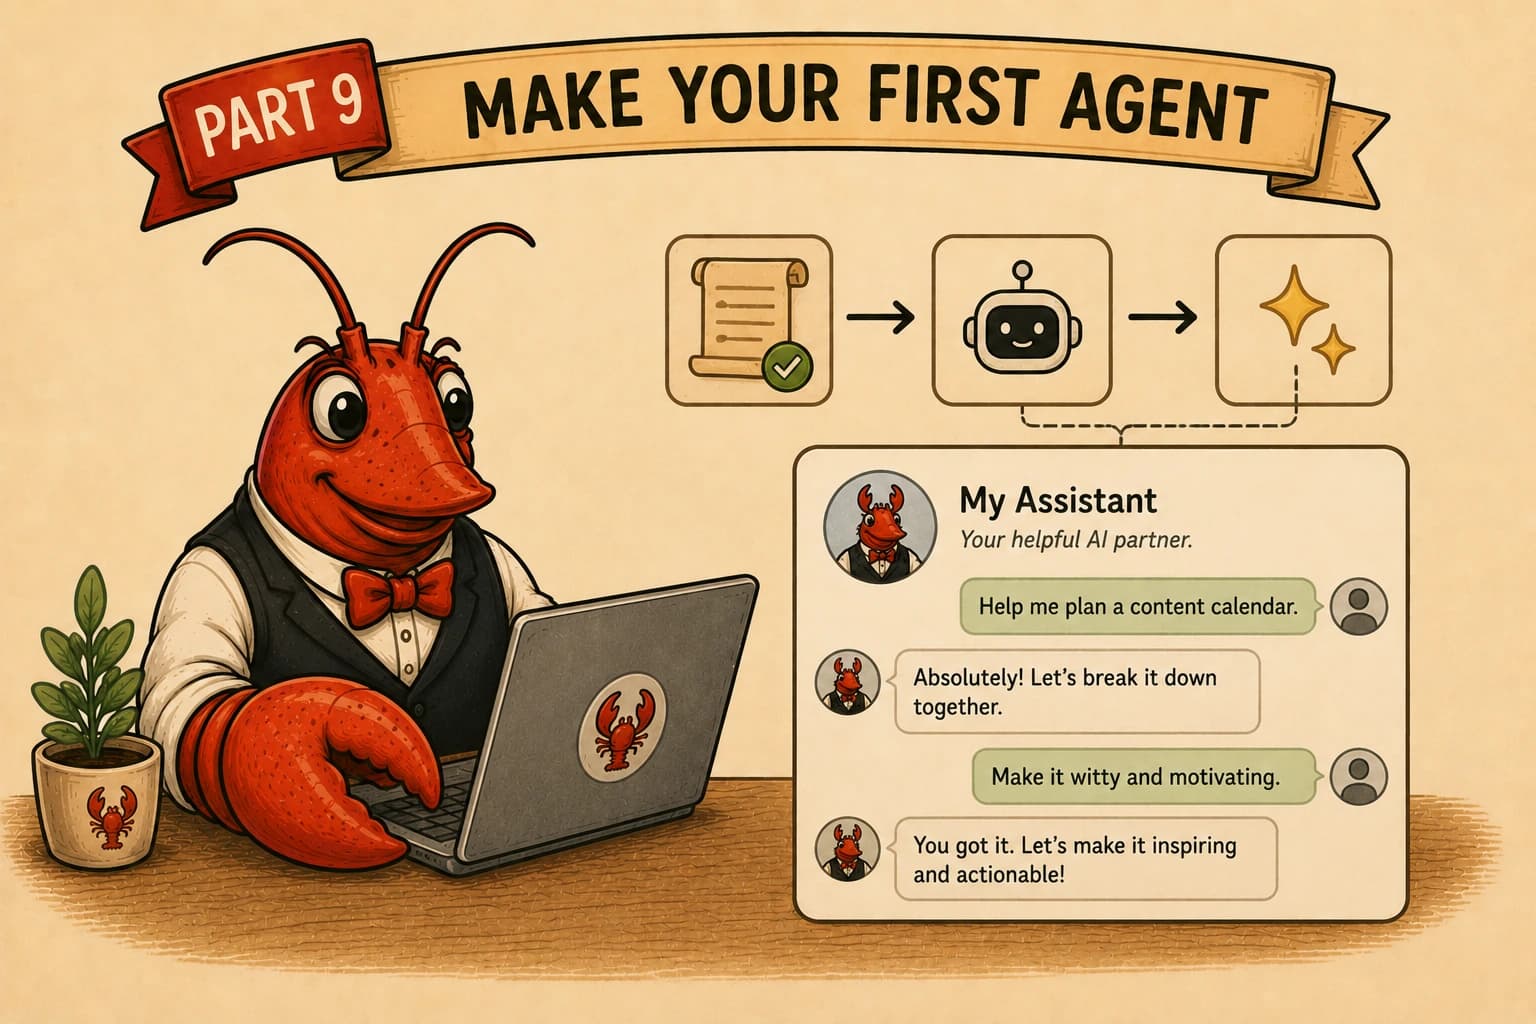
Creating your first agent
This Part helps you give it a personality, an identity, and a profile of you, so its coaching is actually useful.
How personality works
Your agent’s character lives in a few plain-text (Markdown) files in its workspace, loaded into its context at the start of every session:
- SOUL.md — personality, voice, boundaries
- IDENTITY.md — its name, role, how it presents itself
- USER.md — what it knows about you (your body, goals, preferences)
The key thing to understand: you don’t hand-write these files. The agent writes them itself, from your conversation with them. OpenClaw’s first-run ritual/onboarding kicks this off (the agent interviews you and writes its own SOUL/IDENTITY/USER), and you refine afterwards by simply telling the agent what to change. Because these files load on every session, the guiding principle is be concise.
Step 9.1: Complete the first-run ritual
The agent always starts by asking three core questions: name, vibe, and a signature emoji. It may later ask a few follow-ups.
For Arnold, a reply like this is enough:
1. Arnold
2. You're my health and fitness coach — motivating, science-based, Schwarzenegger energy.
3. 💪
The agent will confirm (something like “Identity locked. Bootstrap deleted. We’re ready.”) and may then ask about your goals, routine, and injuries. You can answer those, or tell it “that’s enough for now, we’ll continue later”, the three core answers are all it needs to write the files. The ritual only runs once; once it’s done, it won’t ask again.
If you skipped or already passed the ritual: that’s fine, the files were still created with whatever you told it. The refinements below work regardless.
Step 9.2: See what the ritual wrote
The workspace files live on your server at ~/.openclaw/workspace/. Take a look:
ls -la ~/.openclaw/workspace/You’ll see SOUL.md, IDENTITY.md, USER.md, plus AGENTS.md, TOOLS.md, and HEARTBEAT.md. Read the three that define Arnold:
cat ~/.openclaw/workspace/SOUL.md
cat ~/.openclaw/workspace/IDENTITY.md
cat ~/.openclaw/workspace/USER.md
The ritual does a good job: SOUL.md will already have an Arnold/coach section, IDENTITY.md will have the name, vibe, and emoji, and USER.md will have your name plus a set of _(unknown — ask)_ placeholders for your goals, routine, diet, and injuries. We’re refining this, not replacing it, and we do the refining by talking to Arnold, not by editing files by hand.
Step 9.3: Add the two things SOUL.md is missing
The ritual’s SOUL.md captures the voice well but leaves out two things an evidence-based coach needs. Rather than edit the file yourself, ask Arnold to add them (he wrote the file; he can update it). On Telegram:
Arnold, add two things to your SOUL.md and save it:
1. A medical boundary in your boundaries section: you're not a doctor; for any real medical concern — pain, injury, troubling symptoms — say so plainly and tell me to see a qualified professional, never try to diagnose.
2. A line on scientific rigor: back claims with mechanisms, not bro-science; distinguish strong evidence from emerging research; if something is uncertain, say so.
Keep the rest of the file as-is, and keep it concise.
Arnold updates SOUL.md and confirms. Confirm it landed:
cat ~/.openclaw/workspace/SOUL.mdYou should see both additions, with the rest of the ritual’s content intact.
Resist the urge to pile in long paragraphs. The file already says the rest well, and every line here costs tokens on every message. The medical boundary is the one genuinely important addition; keep everything else lean.
IDENTITY.md generally needs nothing, the ritual writes a complete one (name, role, vibe, emoji). Read it if you’re curious; only ask Arnold to change it if something reads wrong to you.
Step 9.4: Have Arnold build out your USER.md profile
USER.md is what makes the coaching real, Arnold’s advice is only as good as what it knows about you. The ritual leaves most of it as placeholders. You fill it the same way everything else here works: by conversation. Arnold interviews you and writes your answers into the file.
Because the SOUL.md change you just made is picked up on a new session, start a fresh chat first. In Telegram, send /new, then:
Read your USER.md. Walk me through the blanks one at a time and fill them in with my answers. Cover: my age, height/weight, dietary pattern, allergies or foods I avoid, any injuries or conditions you should train around, my primary goal and timeline, how many days a week I can train and what equipment I have, the cardio I do, roughly how I eat now and any supplements, and how I like to be coached. Keep anything genuinely medical out — just note what you need to train around, and tell me to see a doctor for the rest. Write it all into USER.md as you go.Arnold asks one field at a time and writes your answers into USER.md. Answer honestly, the better the input, the better the coaching. When you’re done, confirm it saved:
cat ~/.openclaw/workspace/USER.mdYour real details should now be in place of the brackets.
The injuries/conditions field is for context, not diagnosis. Note anything a coach should train around (a bad knee, a dodgy shoulder). For anything genuinely medical, Arnold will, correctly, point you to a doctor rather than work around it.
Step 9.5: Verify Arnold is himself
Start a new session (/new) so all the changes are loaded, then talk to him. A quick check:
It knows you: ask something your USER.md now answers, e.g. “What should I train this week?” The reply should reflect your actual goal, training days, and equipment, not generic advice.
If the voice is flat or it ignores your profile, confirm the files saved (the cat commands above) and that you started a new session after the changes, files only reload on a fresh session.
What you now have
✅ Your agent is Arnold, a science-based, motivating health and fitness coach
✅ SOUL.md refined (via Arnold) with a clear medical-deferral boundary and a rigor standard
✅ USER.md reflecting your real profile, built by Arnold interviewing you
✅ Personality and context that persist across every session, all written by Arnold, not hand-edited
Part 10: Gmail & Calendar Integration
Time required: 25–35 minutes
What you’ll do: Give your agent read access to your Google Calendar and Gmail, so Arnold can see your schedule and inbox.
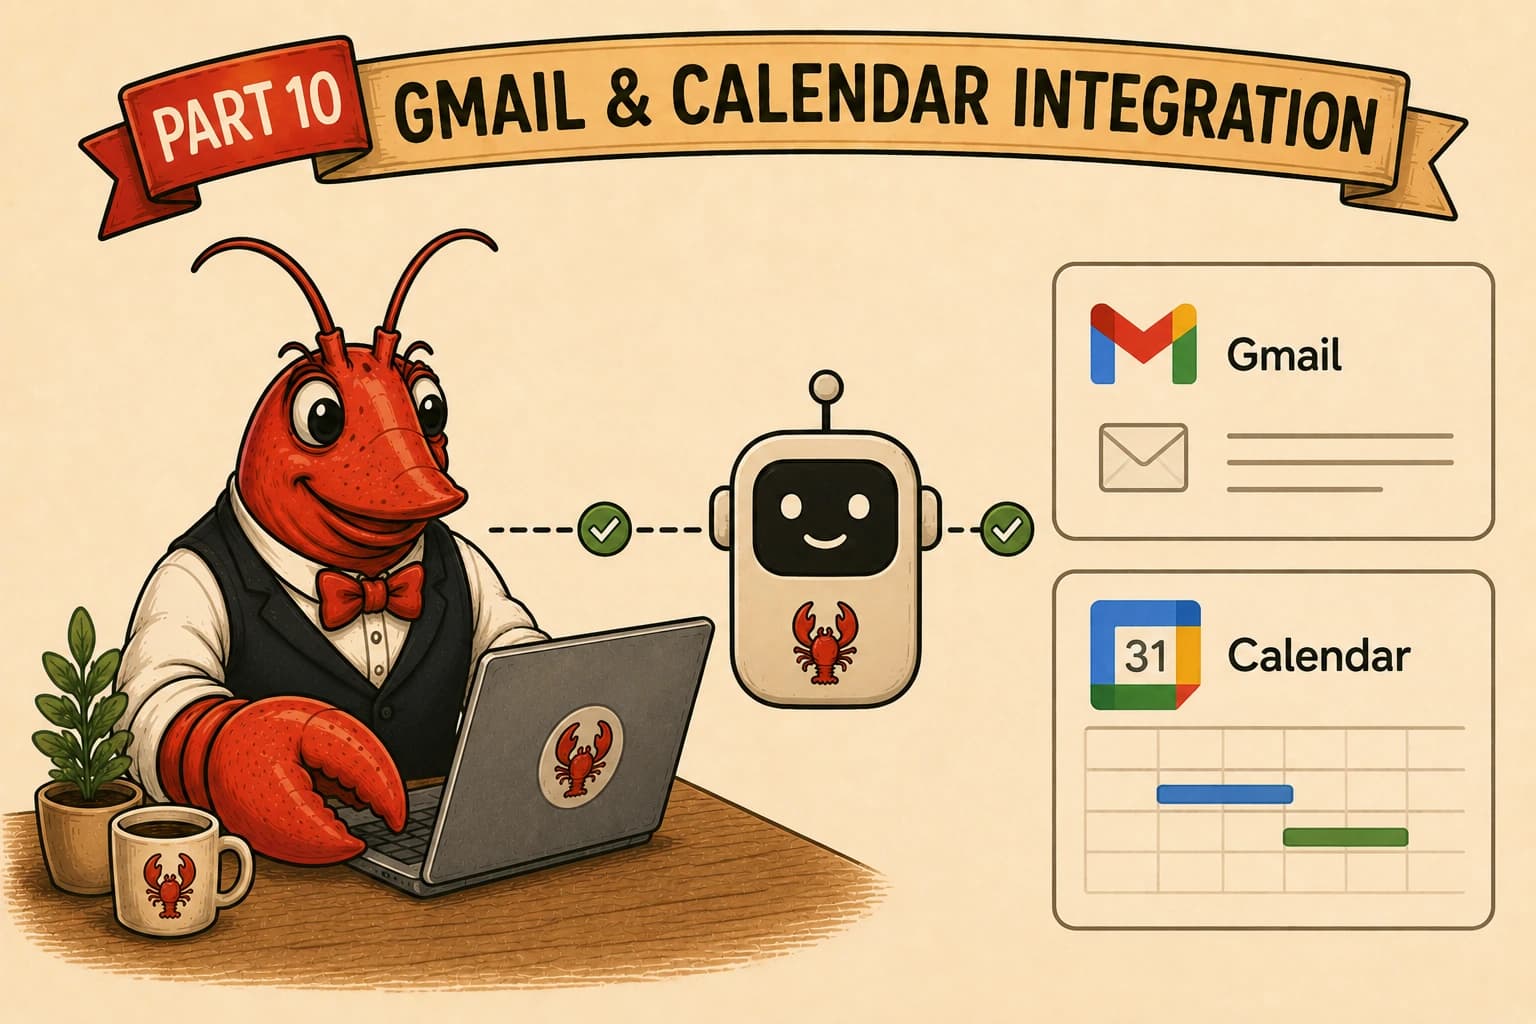
🚧 Connecting GMail and Google Calendar is optional
This part was included because it’s likely that at least one of your agents will require GMail and/or Google Calendar integration.
It’s important to note that the core of an agent like Arnold (training, nutrition, recovery, reminders) does, actually, work without this. You only need Gmail/Calendar for calendar-aware features (e.g. Arnold spotting a dinner on your calendar, searching for the restaurant’s menu, and telling you what you should eat based on your nutrition plan). If you don’t want that, skip to Part 11; you can always come back.
How this fits together
Your agent doesn’t talk to Google directly. It calls a small command-line tool, gog, which handles Google’s OAuth, stores encrypted tokens, and runs commands like gog calendar events and gog gmail search.
OpenClaw’s Google skill is a thin layer that calls gog and feeds the results back to the model. So the whole job is: get gog installed where the gateway can run it, and authenticate it to your Google account.
There are two halves: a Google Cloud half (create OAuth credentials, done in your browser) and a server half (install gog, authenticate, wire it to the agent). We do the Google half first.
Step 10.1: Create a Google Cloud project
Go to https://console.cloud.google.com and sign in with the Google account whose Calendar and Gmail you want Arnold to read.
- Click “Select a project” at the top (next to “Google Cloud”).
- Click New Project.
- Name it something recognizable, e.g. OpenClaw. Leave organization as-is.
- Click Create, wait a few seconds, then select the new project from the dropdown so you’re working inside it. Linking a billing account is not required for this. If a free-trial banner appears, you can dismiss it.
Step 10.2: Enable the APIs
On the top left, click the menu button and select “APIs & Services”, and then Library. For each of these, search its name, click it, and check if it is enabled. If not, click Enable for:
- Gmail API
- Google Calendar API
- Google People API (for contacts)
Then go to APIs & Services → Enabled APIs and services and confirm all three are listed.
Step 10.3: Configure the OAuth consent screen
Left menu → APIs & Services → OAuth consent screen.
- Choose External, then Create.
- Fill the required fields: app name (e.g. OpenClaw), your email as user support email, your email as developer contact. Save and continue.
Scopes: click Data Access → Add or Remove Scopes, and in “Manually add scopes” paste these three, then Add to Table → Update:
https://www.googleapis.com/auth/gmail.modify
https://www.googleapis.com/auth/calendar
https://www.googleapis.com/auth/contacts.readonly
Save.
- Test users: add your own Google address. Save. Leave the app in Testing status. For personal use that’s correct, and it avoids Google’s lengthy app-verification process. The only consequence is that the consent screen will warn that the app is unverified (expected, you click through it), and only the test users you list can authorize it.
Step 10.4: Create the OAuth client (Desktop)
On the top left, click on the Menu button → APIs & Services → Credentials.
- Click + Create credentials → OAuth client ID.
- Application type: Desktop app. (This is what enables the headless “paste-the-code” login the server needs.)
- Name it, e.g. OpenClaw gog CLI. Click Create.
- In the dialog, click Download JSON. It saves as client_secret_*.json. Save this JSON. A Desktop client’s secret cannot be re-downloaded later, so keep it somewhere safe. It’s the key to your Google access; don’t commit it anywhere public.
When you’re done, the Credentials page shows your client under OAuth 2.0 Client IDs with type Desktop.
Step 10.5: Install gog into the gateway image
gog is a single binary, and it has to be callable by the gateway process (the agent runs gog as a child process). The clean way to do that is to add the binary to a thin image layered on top of your existing openclaw:local, then point Compose at the new image. This does not rebuild OpenClaw, it just adds one file, so it takes seconds.
Using the terminal, find the current Linux build of gog in the Server and confirm it runs:
cd ~
curl -s https://api.github.com/repos/openclaw/gogcli/releases/latest | grep browser_download_url | grep linux_amd64
That prints the download line; copy the linux_amd64 URL from it. Then:
curl -fsSL PASTE_THE_URL_HERE -o gogcli.tar.gz
mkdir -p ~/gogtest && tar -xzf gogcli.tar.gz -C ~/gogtest
~/gogtest/gog --version
When copying and pasting the URL, there is no need to include the “ “.
Build the image layer. Copy the binary in, then create the Dockerfile:
cd ~/openclaw
cp ~/gogtest/gog ./gog
nano Dockerfile.gog
Paste these three lines into nano, then save (Ctrl+O, Enter, Ctrl+X):
FROM openclaw:local
COPY --chmod=755 gog /usr/local/bin/gog
RUN gog --version
Build it:
docker build -t openclaw-gog:local -f Dockerfile.gog .Point Compose at the new image and recreate the gateway:
echo OPENCLAW_IMAGE=openclaw-gog:local >> .env
docker compose up -d openclaw-gateway
docker compose ps
docker compose ps should show the gateway healthy with its IMAGE column reading openclaw-gog:local. Now the check that matters, gog callable from inside the running gateway:
docker compose exec openclaw-gateway gog --versionA version string here means the agent’s process can run gog. This is the step the binary install exists for; don’t continue until it prints a version.
Why just a layer, not a full rebuild of the image? Your openclaw:local already contains the compiled app. Building FROM openclaw:local reuses all of it and only adds the binary. (curl may be absent from the slim base image, which is why we copy a binary we already downloaded rather than curl inside the Dockerfile.)
Step 10.6: Set up gog’s home and keyring password
gog stores credentials and an encrypted token keyring on disk. Two things must be true: that storage has to persist across container recreates, and the keyring password has to reach the gateway process, not just your shell.
Persistence is handled by putting gog’s home under the already-mounted ~/.openclaw volume. The keyring uses gog’s file backend (the OS keyring won’t work in a headless container), unlocked by a password in the environment.
Add three variables to your .env. Open it:
cd ~/openclaw
nano .env
Add these three lines at the bottom, then save (Ctrl+O, Enter, Ctrl+X). Replace the password with something long and random with no spaces, and keep it safe (losing it means re-authenticating):
GOG_HOME=/home/node/.openclaw/gogcli
GOG_KEYRING_BACKEND=file
GOG_KEYRING_PASSWORD=your-long-random-value-no-spaces
Because your docker-compose.yml lists forwarded variables explicitly in its environment: block, add these three there too so the gateway definitely receives them. Open it:
nano ~/openclaw/docker-compose.ymlIn the gateway service’s environment: section, add the three lines below. They must line up with the indentation of the existing KEY: ${KEY:-} lines already in that block (YAML is indentation-sensitive, so matching the existing indent matters):
GOG_HOME: ${GOG_HOME:-}
GOG_KEYRING_BACKEND: ${GOG_KEYRING_BACKEND:-}
GOG_KEYRING_PASSWORD: ${GOG_KEYRING_PASSWORD:-}
Save and exit. Apply by recreating the gateway, then confirm the variables actually reached it:
docker compose up -d openclaw-gateway
docker compose exec openclaw-gateway printenv GOG_HOME GOG_KEYRING_BACKEND
docker compose exec openclaw-gateway printenv GOG_KEYRING_PASSWORD | wc -c
The second command prints your GOG_HOME path and file. The third prints a number, the character count of your password; anything greater than 1 means it’s set (this checks it’s present without printing the password itself). If it prints 0, the variable isn’t reaching the gateway, so fix that before authenticating.
Step 10.7: Get the credentials JSON onto the server (Droplet)
Open a new terminal on your laptop (not an SSH session, a fresh local terminal: Mac Terminal, or PowerShell on Windows), copy the JSON you downloaded in Step 10.4 to the server:
scp ~/Downloads/client_secret*.json yourname@YOUR_DROPLET_IP:~/(Windows PowerShell: scp $env:USERPROFILE\Downloads\client_secret*.json yourname@YOUR_DROPLET_IP:~/)
On the server, move it into gog’s home on the mounted volume and fix ownership:
mkdir -p ~/.openclaw/gogcli
mv ~/client_secret*.json ~/.openclaw/gogcli/credentials.json
chmod 600 ~/.openclaw/gogcli/credentials.json
sudo chown -R 1000:1000 ~/.openclaw/gogcli(~/.openclaw/gogcli on the host is /home/node/.openclaw/gogcli in the container, which is the GOG_HOME you set.)
Register the credentials with gog:
docker compose exec openclaw-gateway gog auth credentials /home/node/.openclaw/gogcli/credentials.jsonYou should see confirmation the credentials were accepted.
Step 10.8: Authenticate
The server has no browser, so you do the Google login on your laptop and paste the result back. Add your email to the prompt, and run:
docker compose exec openclaw-gateway gog auth add YOUR_EMAIL@gmail.com --services gmail,calendar,contacts --manualgog prints a long Google authorisation URL. Then:
- Copy the URL and open it in your laptop browser.
- Sign in with the Google account you added as a test user.
- You’ll see “Google hasn’t verified this app”, which is expected for a Testing-status app. Click Advanced → Go to OpenClaw (unsafe).
- Grant the Gmail, Calendar, and Contacts permissions.
- Your browser redirects to a localhost address that won’t load, that’s expected and ok. Copy the entire URL from the address bar (it contains code=...).
- Back in the server terminal, paste that URL (or the code, if prompted) and press Enter. Confirm the login is usable by the agent, not just your shell:
docker compose exec openclaw-gateway gog auth list
docker compose exec openclaw-gateway gog auth doctor --check --no-input
The first lists your account. The second is the important one: it confirms the gateway process can unlock the token keyring without a prompt. A clean gog auth doctor is what proves the agent will actually be able to use Google.
If gog auth doctor complains about the keyring or a password while everything else looked fine: that’s the environment not reaching the gateway process. Re-check Step 10.6 (the pw_set=yes test), fix it, recreate the gateway, and re-run the doctor. Re-authenticating does not help when the tokens are already stored but the password isn’t reaching the process.
Step 10.9: Test gog directly
Calendar (add your email):
docker compose exec openclaw-gateway gog calendar events YOUR_EMAIL@gmail.com --account YOUR_EMAIL@gmail.com --max 5Gmail (add your email):
docker compose exec openclaw-gateway gog gmail search 'newer_than:7d' --account YOUR_EMAIL@gmail.com --max 5Each should return real data (or a clean empty result).
If either errors instead, it’s usually a missing API or scope from Steps 10.2/10.3, fix that before wiring the agent.
Step 10.10: Test through Arnold
In Telegram, send:
What's on my calendar today?Arnold should answer with your real schedule. If it does, Gmail and Calendar are wired up, and the calendar-aware features in later parts will work.
If Arnold says it can’t access your calendar but the Step 10.9 commands worked, the gog binary and auth are fine but the skill may be disabled. Check the Skills panel in the dashboard (Part 7) and make sure the Google/gog skill is enabled, then start a new session.
Clean up
The host-side test files are throwaway:
rm -rf ~/gogtest ~/gogcli.tar.gzKeep ~/openclaw/gog (the Dockerfile copies it whenever you rebuild the image).
What you now have
✅ A Google Cloud project with Gmail, Calendar, and People APIs enabled
✅ gog installed in the gateway image and callable by the agent
✅ Persistent, headless-safe auth (file keyring on a mounted volume)
✅ Arnold able to read your calendar and inbox
What’s next?
The full guide is published as four different articles:
- Setting up your server (Intro → Part 3) - link
- Installing OpenClaw (Part 4 → Part 6) - link
- Configuring your OpenClaw (Part 7 → Part 10)
- Customizing your first agent to your needs (Part 11 → end) - link
The next and final article in our guide will cover how to customize your first agent to your needs, using Arnold, my AI health coach, as an example.
Getting help
The easiest way to solve any problem is to take a screenshot and explain your problem to whatever AI model you use – Claude, ChatGPT, Gemini, etc. It will help you solve your problem.
Helpful resources:
- OpenClaw docs: docs.openclaw.ai
- GitHub issues: github.com/openclaw/openclaw/issues
- OpenClaw Discord: via the project’s site/repo
A quick disclaimer
- This is a write-up of what worked for me, offered with no warranties, follow it at your own risk.
- It’s not a security guarantee, and keeping your server secure is your responsibility.
- Costs are real and can change, so watch your own billing (a cloud server bills until you destroy it).
- Referenced tools and services belong to their owners and change over time; this reflects how things worked when written.